 "navigation"


02
Content
Pleated blinds operate through a deceptively simple but precisely engineered cord system that threads through a series of small holes punched at regular intervals through every pleat of the fabric. The cord runs from a fixed anchor point at the top headrail, down through these holes, and connects to the bottom rail, allowing the entire blind to be raised and lowered in a controlled, uniform manner. When you pull the operating cord — typically a looped or dangling cord on the side of the headrail — a locking mechanism inside the headrail engages or releases, holding the blind at the desired height.
Most pleated blinds use at least two lift cords running in parallel through the fabric, spaced evenly across the width of the blind. Wider blinds may use three or more cords to prevent the fabric from sagging or twisting unevenly when raised. Each cord terminates at the bottom rail, usually knotted through a cord anchor or glued into a small retaining cap. Understanding this routing is essential before attempting any repair or restringing, because the cord path is not always obvious once the blind is fully assembled and the fabric pleats are compressed.
Cord issues are the most frequent reason pleated blinds stop functioning correctly. Recognizing the specific type of failure helps you determine whether a full restringing is needed or whether a simpler fix — such as re-knotting a slipped end or freeing a jammed cord — will restore operation. The most common problems include:
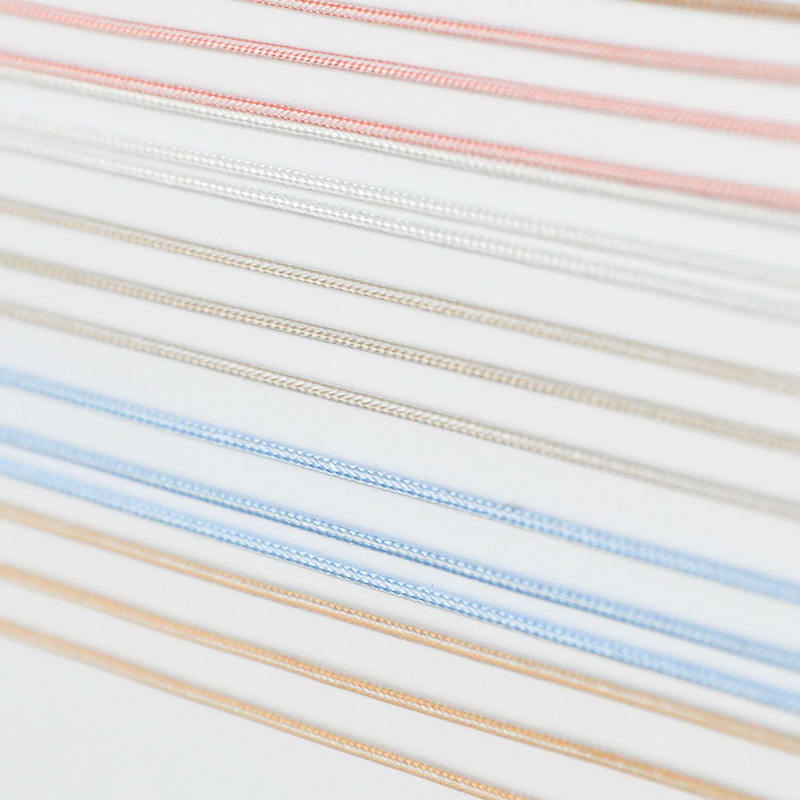
Selecting the correct replacement cord is critical to a successful and lasting repair. Using the wrong cord diameter, material, or construction type can result in the cord jamming in the fabric holes, wearing prematurely, or failing to lock correctly in the headrail mechanism. The following specifications must be matched carefully to the original cord:
| Specification | Typical Values | Why It Matters |
| Diameter | 0.8 mm, 1.0 mm, 1.2 mm, 1.4 mm | Must fit through fabric punch holes without binding or slipping loosely |
| Material | Polyester, nylon, polypropylene | Affects stretch, UV resistance, and friction characteristics |
| Construction | Braided or twisted | Braided cord resists kinking and holds knots more securely |
| Stretch rating | Low-stretch preferred | High-stretch cord causes uneven blind height over time |
| Length required | 2.5脳 blind drop per cord, minimum | Allows full extension with sufficient cord remaining in headrail |
The most widely used cord diameter for standard residential pleated blinds is 1.0 mm or 1.2 mm braided polyester. Polyester is preferred over nylon for window blind applications because it has lower stretch characteristics and better UV stability — important given that cords near sunny windows are exposed to prolonged solar radiation. Always measure the original cord diameter with a caliper if possible before ordering replacement cord, rather than estimating by eye.
Restringing pleated blinds is a manageable DIY task, but having the right tools assembled before you begin prevents frustration midway through the process. The blind will need to be removed from the window and laid flat on a clean, large work surface — a dining table covered with a blanket works well to protect both the blind fabric and the table surface.
The restringing process requires patience and methodical attention to the cord path. Rushing the threading stage and skipping a hole in the fabric will require starting over, so work slowly and check your progress at each pleat.
Take the blind down from its brackets and lay it fully extended on your work surface. Locate the cord anchor points on the underside of the bottom rail — these are usually small plastic caps or plugs covering the cord knots. Pry these caps off gently with a screwdriver. Cut or untie the existing cord knots and remove the old cord completely from one cord channel at a time. Do not remove all cords simultaneously — leaving the remaining cords in place helps keep the pleats aligned and makes re-threading the replacement cord significantly easier.
Cut your replacement cord to length — for each lift cord, allow the full drop of the blind multiplied by approximately 2.5, plus an additional 30 cm for knotting and routing through the headrail. Heat-seal the leading end of the cord with a lighter, allow it to cool for a few seconds until hardened, then begin threading from the bottom rail upward through each fabric punch hole. Use the threading tool or bodkin to guide the cord through each hole, pulling a small amount of slack through at each step. Work pleat by pleat, keeping the cord centered in each hole to avoid misalignment that causes the blind to hang unevenly.
Once the cord exits through the top of the fabric and enters the headrail channel, route it through the cord lock or tensioner mechanism according to the original routing — take a photo of the headrail interior before disassembly if you are uncertain of the path. The cord typically runs horizontally through the lock mechanism and exits through a guide hole at the side of the headrail to form the operating cord. Leave sufficient cord length exiting the headrail to allow comfortable operation — approximately 30 to 40 cm of operating cord is standard for a typical window height.
With the cord threaded and routed, lower the blind to its maximum drop position and tie a secure stopper knot in the cord below the bottom rail anchor point. Pull the knot snugly into the anchor cap and replace the cap firmly. Repeat this process for each lift cord before testing. Once all cords are secured, hang the blind back on its brackets and test the full raise and lower cycle several times, checking that the blind rises evenly on both sides and locks securely at the desired position without slipping.
Looped or long dangling cords on window blinds present a well-documented strangulation hazard for young children. In many countries, including the UK and EU member states, regulations now prohibit the sale of new corded blinds with accessible looped cords in homes where children under 42 months may be present. When restringing pleated blinds in a home with young children, the operating cord arrangement must be reviewed carefully alongside the lift cord replacement.
A properly restrung pleated blind should provide years of reliable service, but the longevity of the new cord depends significantly on how the blind is operated day to day. Jerking the operating cord sharply to raise or lower the blind places sudden shock loads on the lift cords at the fabric holes — the primary cause of premature cord wear. Operating the blind smoothly and steadily, pulling the operating cord at a consistent angle rather than at sharp lateral angles, dramatically reduces friction and fatigue at these stress points.
Periodically inspect the cord where it exits the bottom rail anchor and where it enters the headrail — these two points experience the highest cumulative friction and will show signs of wear before the rest of the cord length. If you notice glazing, thinning, or slight fraying at these points during routine cleaning of the blind, plan a cord replacement before failure occurs rather than waiting for the cord to break mid-operation. Replacing cord proactively at the first signs of wear is always faster, cheaper, and less disruptive than an emergency restring after a full breakage.


