 "navigation"


02
Content
Kitchen blinds collect a film of grease that blinds in any other room never have to deal with. Every time something sizzles in the pan, a fine mist of cooking oil rises, drifts, and settles on the nearest cool surface, which is very often the slats or vanes hanging beside the hob. Dust lands on that film, the next cooking session warms it up again, and within a few weeks you are looking at a sticky, faintly yellowed layer that a damp cloth simply pushes around.
We have spent years manufacturing fabric slats, ladder tapes and cords for blind makers, and we have seen plenty of "failed" cleaning attempts come back to us as damaged samples. The encouraging news is that greasy blinds are almost always recoverable. What decides the outcome is the order you work in, the cleaner you match to the material, and a little patience around the hardware.
Cooking oil does not simply rest on a surface. Once airborne droplets land, they oxidise and slowly polymerise, turning from a slippery liquid into a tacky, resin-like film. That film grabs dust and lint, which makes it look darker than it really is, and it hardens each time the hob heats the room.
Two practical lessons follow. First, water alone will not shift it, because oil and water refuse to mix; you need a surfactant to break the film. Second, time is against you, so a light wipe every fortnight saves an exhausting scrub twice a year. If the blind hangs within a metre or so of the hob, treat it as a cooking surface rather than a window covering and clean it on a regular rhythm.
Worth adding: a step stool, so you are never stretching and dragging a wet cloth across the slats at an awkward angle. Bending slats is one of the most common causes of permanent damage during cleaning.
Tilt the slats fully closed and run the vacuum brush from the top down, then repeat on the other side. Dusting first matters because a wet cloth dragged over dry dust turns it into a gritty paste that scuffs the finish. For fabric vanes, a quick pass with a lint roller lifts surface fluff before any liquid goes near them.
For most blinds, one to two teaspoons of mild dish soap in a litre of warm water is enough. Heavier build-up on aluminium tolerates a stronger degreaser, but avoid ammonia, bleach or abrasive cream cleaners, which attack protective coatings and leave white streaks. Always test on an inconspicuous slat or the back of a bottom vane first.
Spray the cloth rather than the blind, so liquid does not run down inside the headrail. Wrap the cloth around a single slat and slide it along the full length in one smooth motion, then turn the cloth to a clean section and repeat. Working downward keeps dirty water from tracking across slats you have already cleaned.
Go over everything once more with a cloth wrung out in clean water, and finish with a dry microfibre pass. Leave the slats tilted open and let the room ventilate. Never close a still-damp blind against the glass, because trapped moisture is exactly what encourages mould along the tapes and cords.
| Material | Best cleaner | Method | Drying note |
|---|---|---|---|
| Fabric vanes (vertical or horizontal) | Mild dish soap in warm water | Wipe, never soak | Air dry fully open |
| Aluminium slats | Dish soap or aluminium-safe degreaser | Two-cloth method | Buff dry to avoid water marks |
| Wood and faux wood | Wood-safe cleaner, barely damp cloth | Follow the grain, minimum moisture | Dry away from direct heat |
| PVC and vinyl | Mild soapy water | Soft sponge | Quick towel dry |
| Pleated or Roman fabric | Upholstery foam or professional dry clean | Blot, do not rub | Hang to dry, fully extended |
Vertical vanes collect grease along their lower half, where cooking vapours drift before cooling. Most PVC vanes can be unhooked and washed in a bathtub of warm soapy water, rinsed, and hung over the shower rail to drip dry. Fabric vanes are a different story: they should never be submerged, because the stiffening finish and the weave can separate. Wipe them on the blind with a barely damp cloth, working from the top of each vane downward, and blot any excess immediately.
It also helps to know what you are cleaning. The
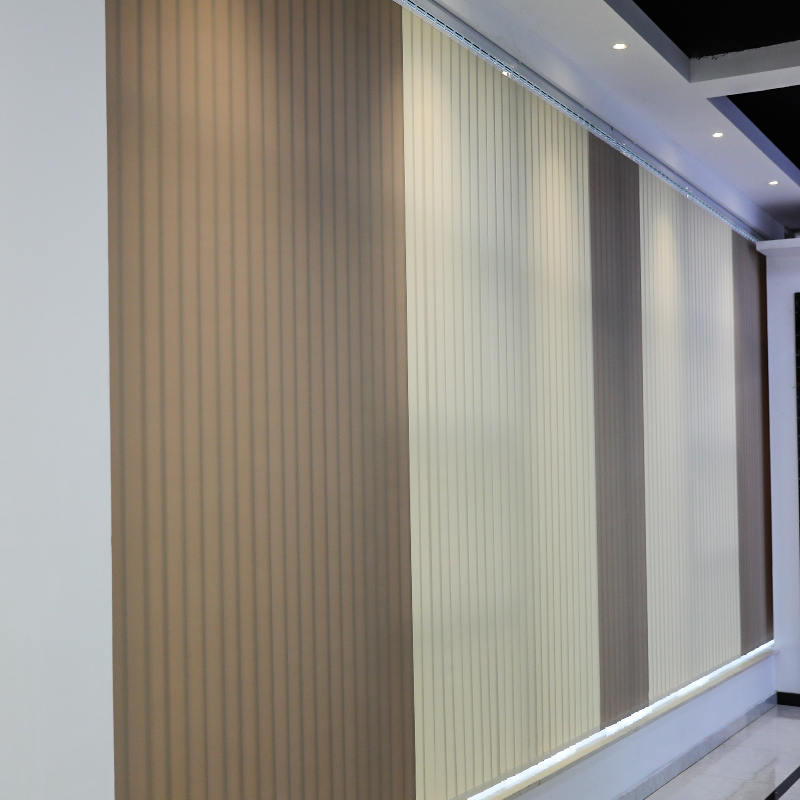
 Waterproof Vertical Fabric Blind SlatsDust-repellent fabric slats for large windows and sliding doors, available in multiple colors and patterns with easy angle adjustment for light and privacy.View Product →
we produce, for example, are woven and finished to hold their shape and hang straight, and that finish is exactly what repeated soaking destroys. Gentle and frequent always outperforms harsh and rare.
For horizontal blinds, a batch approach works well. Lower the blind, tilt the slats flat, lay an old towel on the sill, and clean three or four slats at a time before rinsing the same group. Support each slat from underneath with your free hand so it cannot bow.
Wood and faux wood need a lighter touch still. Use a cloth wrung until it is almost dry, wipe along the grain, and dry immediately. Standing water raises the grain on real timber and can loosen the edge seal on composite slats, which is how a cleaning job turns into a replacement job.
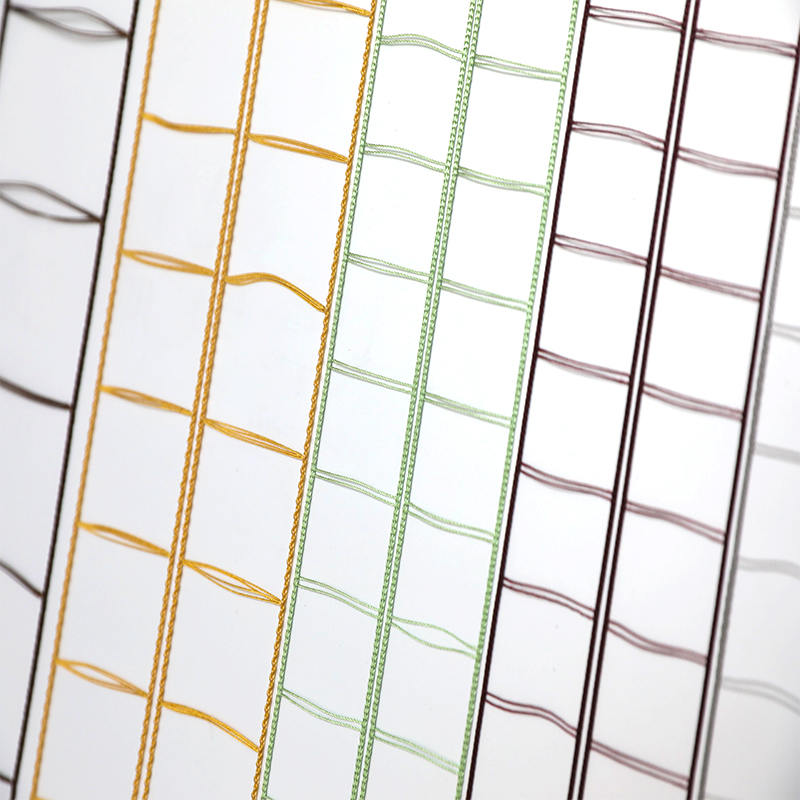
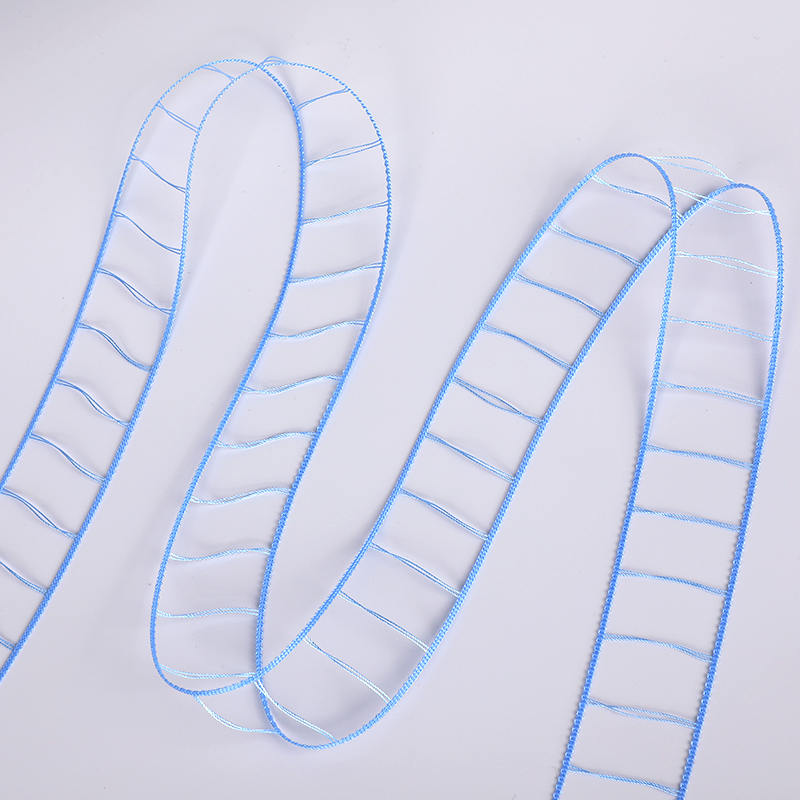
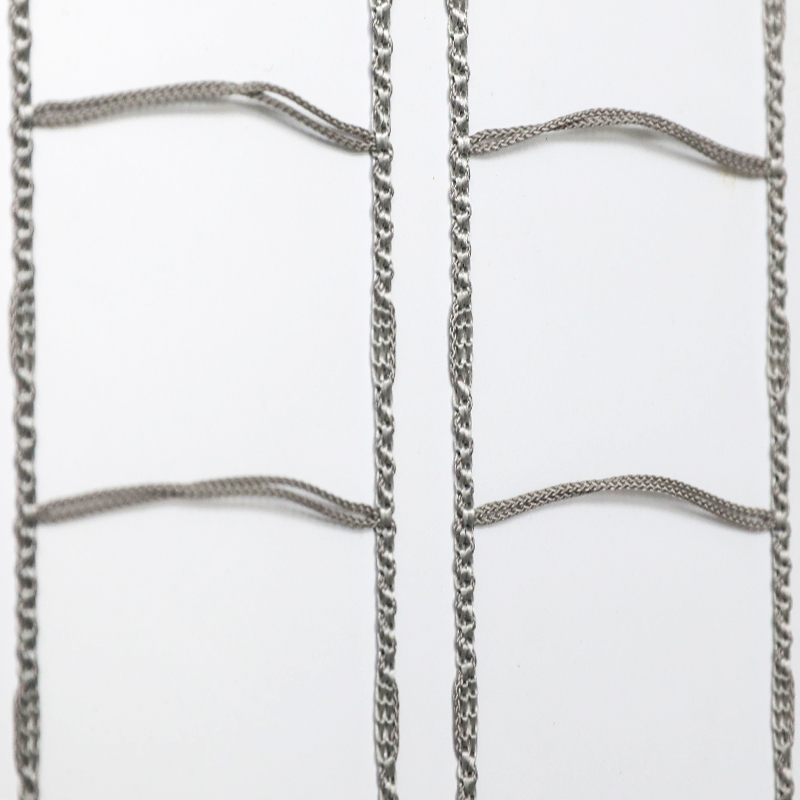
This is the part most people skip, and it is the part that decides whether the blind still runs smoothly afterwards. Grease on a cord attracts dust, and that grit works its way into the cord guides and the tilt mechanism. Run a cloth dampened with soapy water down each cord between finger and thumb, then repeat with a clean damp cloth, and let the cords hang free to dry. Do the same along the ladder tapes, but support them so they do not stretch.
The headrail channel collects a surprising amount of sticky dust. A soft brush and a cotton bud around the brackets will clear it. While you are up there, check the cords for fraying or stiffness; if you notice either, our notes on keeping aluminium blinds cord from tangling explain the adjustments that usually solve it.
Replacement cords are inexpensive and straightforward to fit, and they are worth keeping on hand if your kitchen blind is more than a few years old. Our
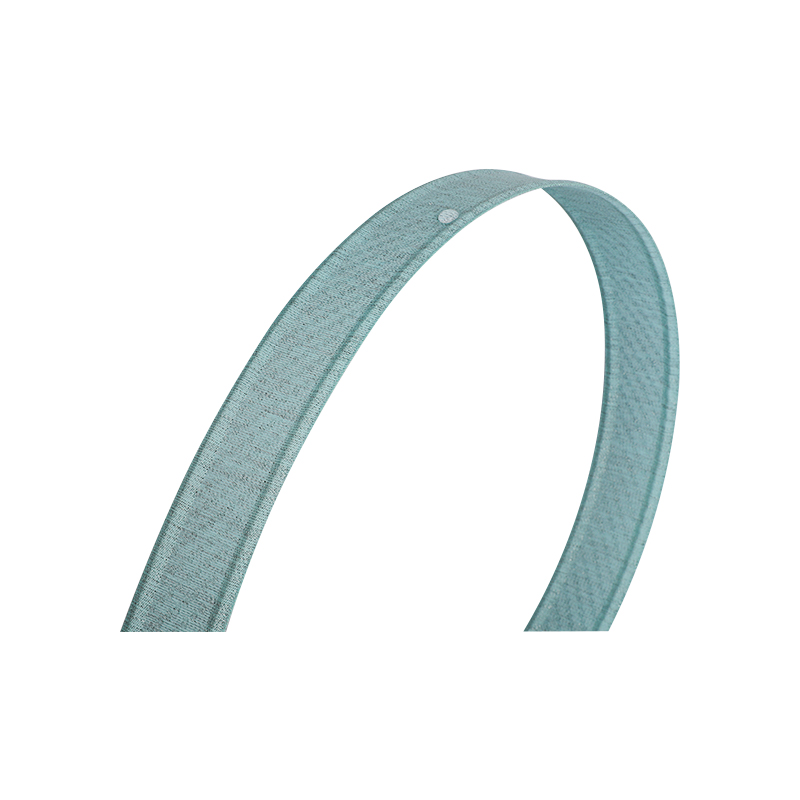
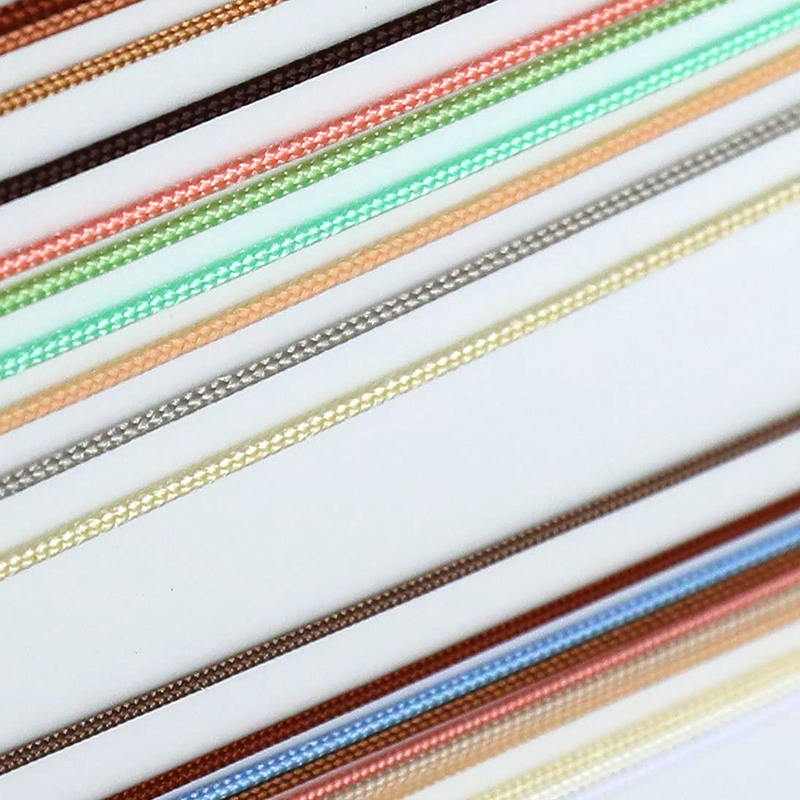 Replacement Cord for Aluminum BlindsDurable cord for aluminum blinds that enables simple pull adjustment of height and slat angle, useful for older kitchen blinds and commercial spaces.View Product →
range is the kind of stock part that turns a stiff, grubby blind back into a smooth one.
Ten minutes a fortnight is worth more than a full-day overhaul. Run a dry microfibre cloth over closed slats weekly, before dust has a chance to bond with oil, and keep the extractor fan running for a few minutes after cooking rather than switching it off the moment the pan leaves the hob. Wiping the splash zone behind the hob also stops vapour from redepositing on nearby surfaces.
It also pays to treat the blind as part of the kitchen's maintenance routine. The general blinds maintenance rules we share with our trade customers cover inspection intervals, tilt operation and what to check on a monthly basis, and they apply just as well to a single kitchen window as to a full commercial installation.
Occasionally the grease has done its damage: tapes feel stiff and crusty, cords fray at the guide, or slats have yellowed beyond recovery. Before replacing the whole blind, check the components. Ladder tapes and lift tapes carry most of the load and wear out long before a fabric vane does, and swapping them is a fraction of the cost of a new unit.
That is the part of the industry we know best. Our
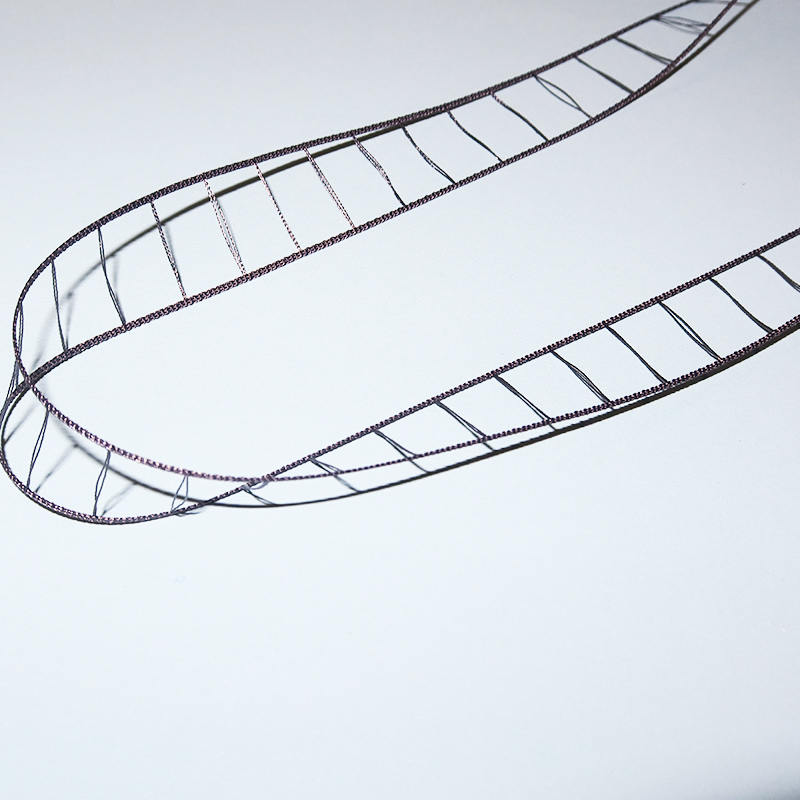
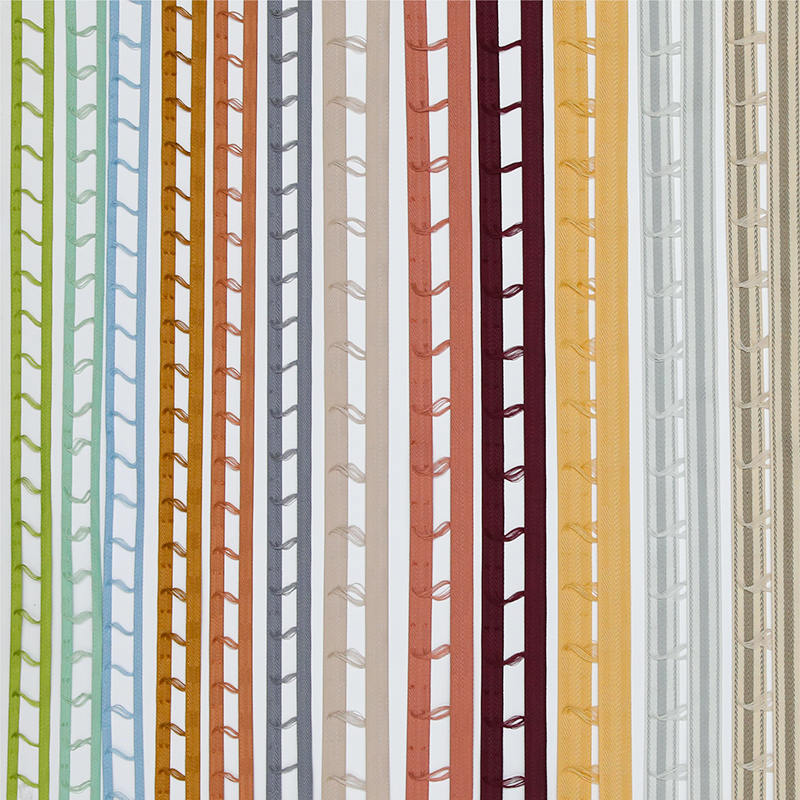 Regular Ladder Tape for Wooden BlindsDurable wide ladder tape for wooden blinds, designed for precise slat-angle adjustment and consistent light distribution in refurbishment and assembly work.View Product →
is made for exactly this kind of refurbishment, and it is the same specification we supply to blind assemblers who need a reliable, repeatable component.
If you are unsure whether a tape, cord or vane is worth saving, send us a photo and a short description of the blind. We are always happy to talk through what will actually work in a kitchen, because a well-maintained blind that runs smoothly for a decade is a far better outcome than one that looks new for a season.