 "navigation"


02
Content
Inside mount blinds are installed inside the window casing rather than over the trim. The benefit is a clean, recessed look with the headrail hidden behind the frame. The downside is a much tighter tolerance. If the blinds are too wide, the headrail will not go in. If the window depth is too shallow, the brackets will not close, and the fabric will scrape the window handle. This guide takes you through the measuring, marking, drilling, and final adjustment steps for an inside mount installation, with the specific details that make the difference between a smooth result and a poor one.
Inside mount is not a universal choice. It works when the recess is deep enough and when the frame is relatively square. It is often chosen because it keeps the trim visible and makes the window look bigger. Outside mount is better when the recess is shallow, the frame is uneven, or you need a smaller blind to overlap the casing.
Use this quick comparison before you mark or drill anything.
| Factor | Inside mount | Outside mount |
|---|---|---|
| Look | Blinds sit inside the frame, trim stays visible | Blinds cover the frame and trim |
| Width ordering | Measure the opening, then subtract a factory deduction | Measure trim to trim and add an overlap |
| Depth requirement | At least 1 to 1.5 in. of clear recess depth | No recess depth requirement |
| Best for | Deep casings and clean, minimal windows | Low clearance frames and uneven openings |
An inside mount reduces visible hardware, but it also narrows the available slat width by the thickness of the frame. If the window has a crank handle or latch that projects into the recess, remember it when you measure depth.
Do not measure only one point in the window opening. Castings can be slightly out of square, and that tolerance changes how the headrail fits. Measure the opening in three places for each dimension, then use the most conservative value for ordering and installation.
Depth is the dimension that causes the most returns. A blind can fit the width, the brackets can be installed, and the entire product still fails because the handle blocks the bottom rail during lowering.
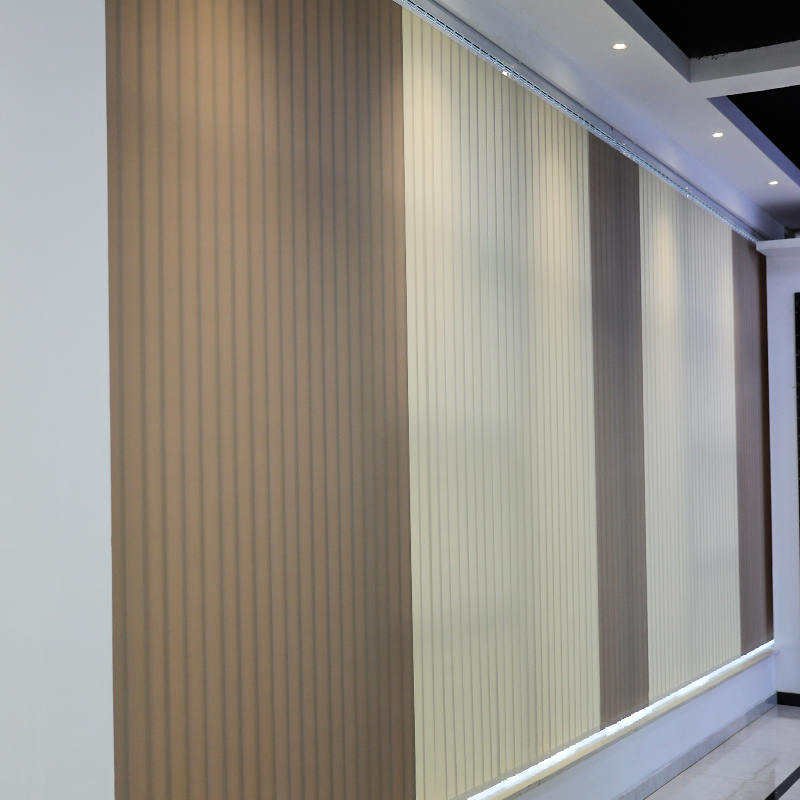
If your opening is deep enough, horizontal fabric blinds can be an excellent choice for an inside mount. They keep a consistent look inside the recess and attach to the same bracket positions as other horizontal blinds. The sequence above still applies; the material simply changes the weight and valance details.
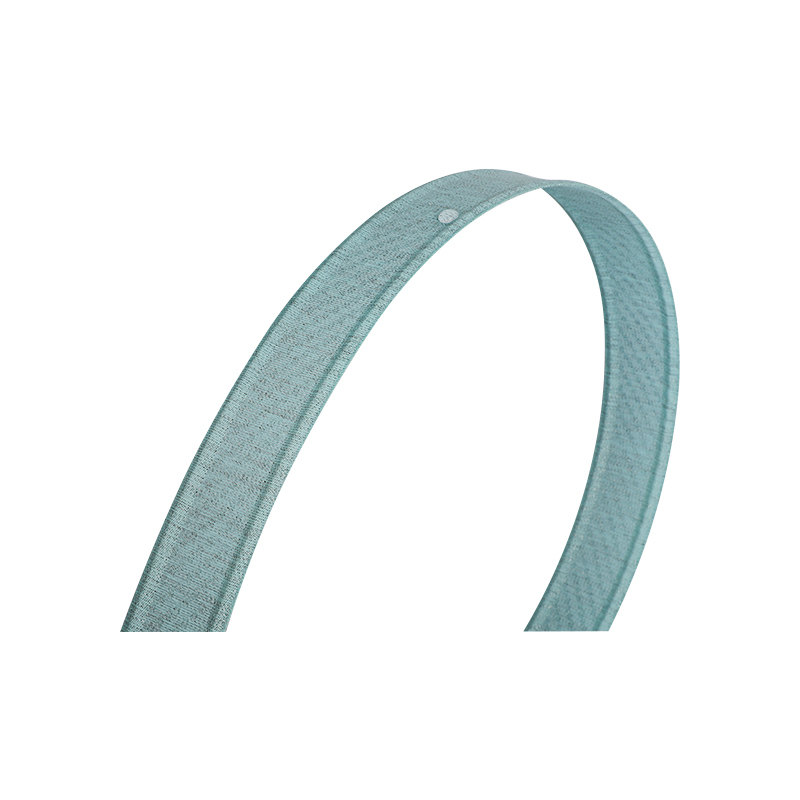
 Horizontal Fabric Blinds for Inside Mount InstallationsThese fabric slat blinds offer adjustable light control and come in various styles, making them suitable for both home and office. Their waterproof and dustproof features simplify cleaning, while the inside mount bracket placement aligns with the installation context.View Product →
The brackets carry the headrail, so their position determines how the whole blind sits. For an inside mount, place the brackets near the top left and top right corners of the frame, not in the center. Many manufacturers recommend a few inches of clearance from each jamb. This keeps the valance from hitting the side casing and prevents the headrail from bowing under the weight of the slats.
Hold the bracket against the top of the frame, just below the top edge. Use a pencil to mark the screw holes. On most blinds, the bracket sits about 1/8 in. below the top inside edge. If you mark too close to the top, the headrail may not clear the casing when you close the blind. If you mark too low, the gap above the headrail becomes visible.
Check that the left and right marks are at the same height. Use a level or measure from the top edge at both sides. If one side is higher, the slats will tilt over time and the blind will look uneven.
Drill a pilot hole at each marked screw position. Use a bit slightly smaller than the screw. In a wood jamb, the pilot hole prevents the screw from splitting the casing. In drywall, insert a plastic anchor that matches the screw. In metal or vinyl, choose a screw and anchor type suitable for that material, and avoid drilling into the sash track or the moving parts of the window.
Drive the screws in until the brackets feel firm, but do not over-tighten. Over-tightening can crack the plastic bracket clips, which makes it difficult to engage the headrail. If the screw begins to strip, back it out and use a slightly larger screw or move the bracket to a nearby position on the same horizontal line.
Line up the headrail with the brackets and press it into place. The clips should click onto the headrail. Start with one side, then press the other side. If you have a long blind, tilt the headrail slightly so the front of the rail enters first, then push the back into the clips. Do not force it; if it will not engage, check the bracket height and orientation.
Once the headrail is seated, inspect the slat angle from both ends. If one side sits higher, the bracket on that side is probably installed too high. Loosen the screw, lower the bracket slightly, and tighten again. Small adjustments at this stage prevent a permanently crooked look.
If your blind has a valance, install it after the headrail is in place. The valance clips go onto the headrail, and the valance snaps into those clips. If you try to install the valance before the headrail, the clips may not engage properly.
Attach the wand to the control loop, or feed the cord through the ladder. Test the lift first. Lower and raise the blind a full cycle. If the blind stops too low or will not lock at the top, the cord tension needs adjustment inside the headrail. Take the blind down briefly to reset the cord if it slips.
Then test the tilt. Rotate the slats from open to closed. They should move together and stay parallel. If any slat sticks, the headrail may not be sitting perfectly level, or the ladder tape is not centered. Make sure the headrail is snapped into both brackets evenly.
After the blind hangs correctly, check the clearance at the bottom rail. When the blind is fully lowered, the bottom rail should sit just above the sill without touching the glass. If it touches the glass, adjust the bracket height.
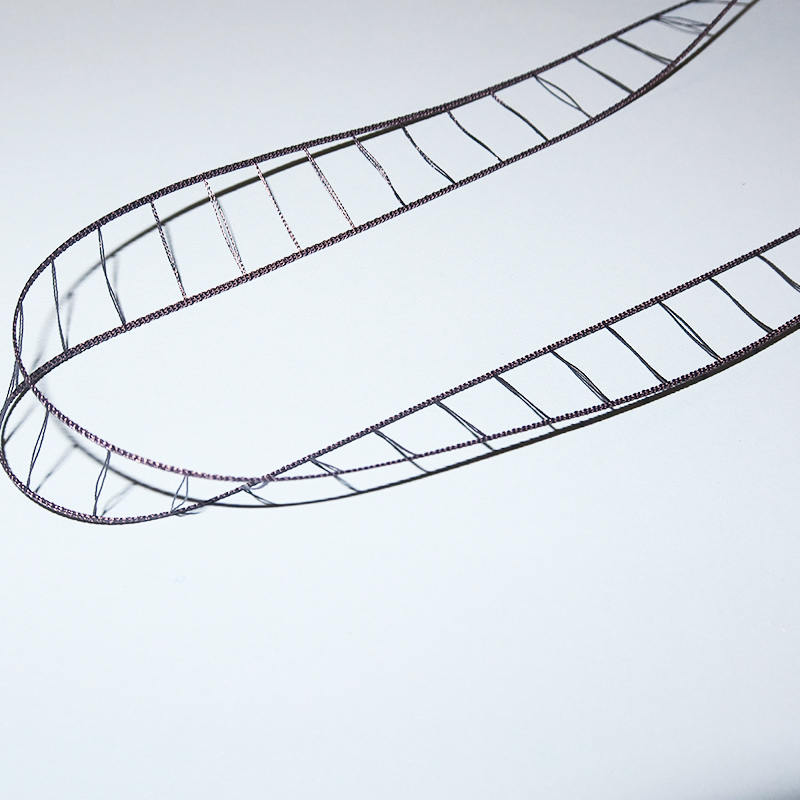
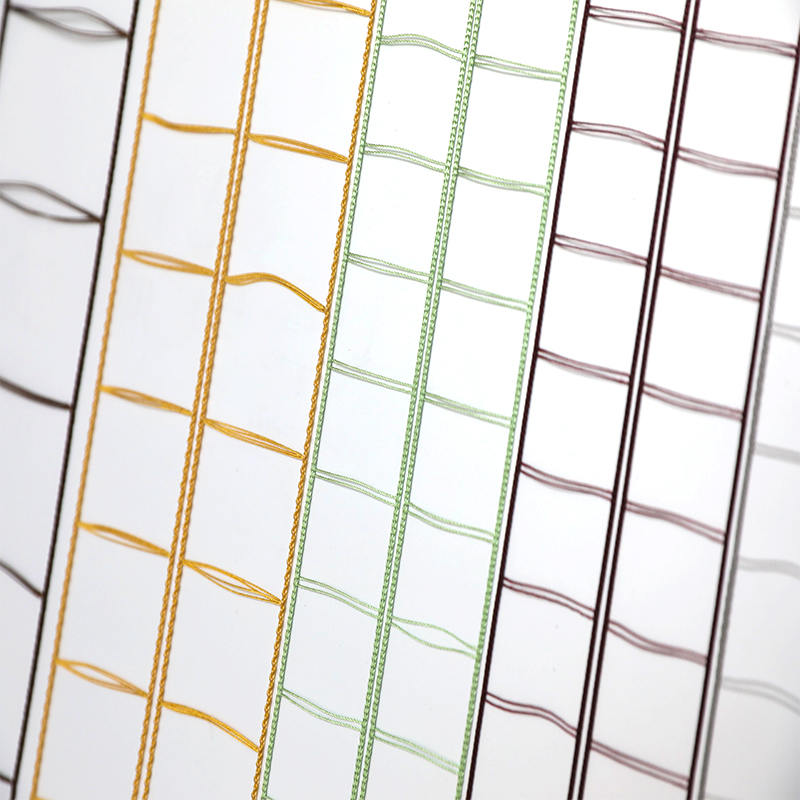
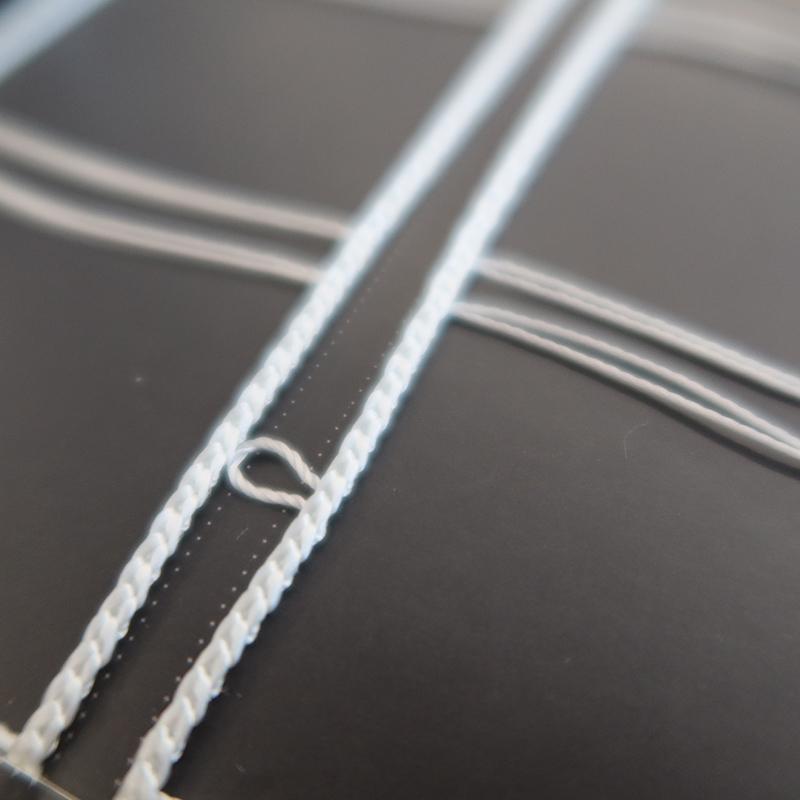
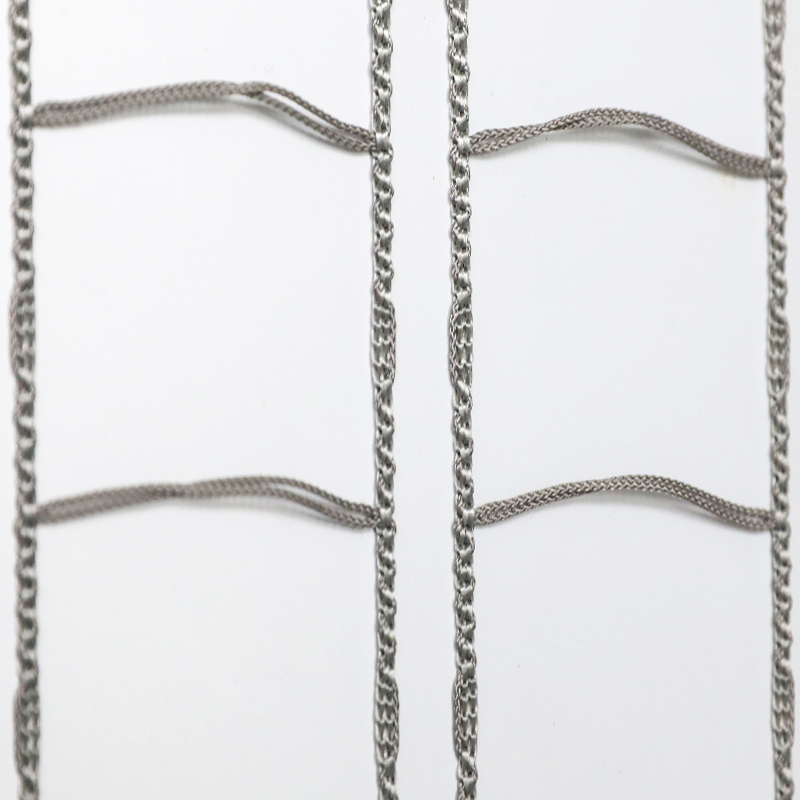
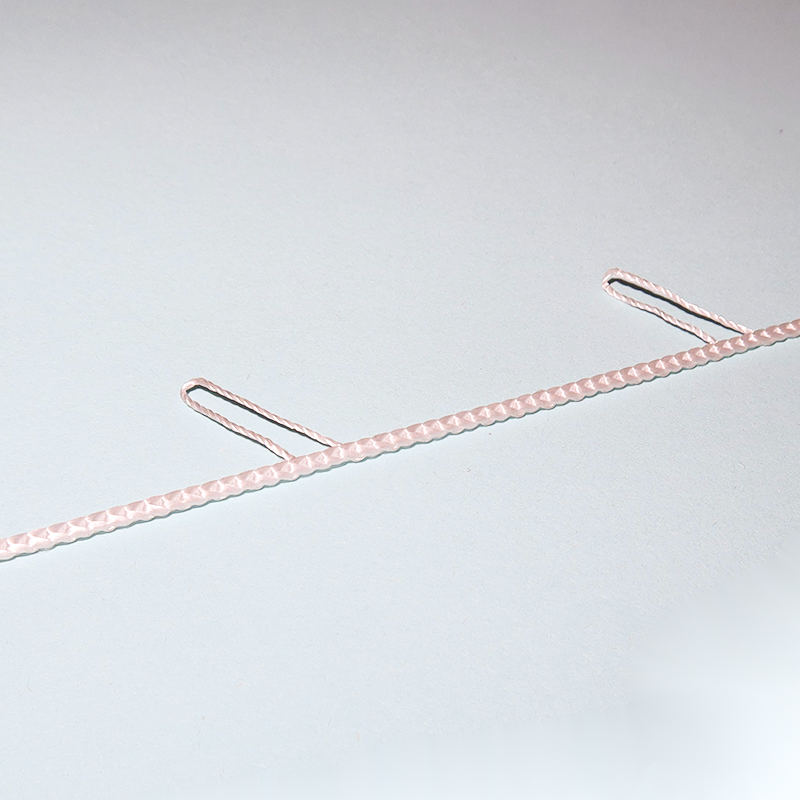
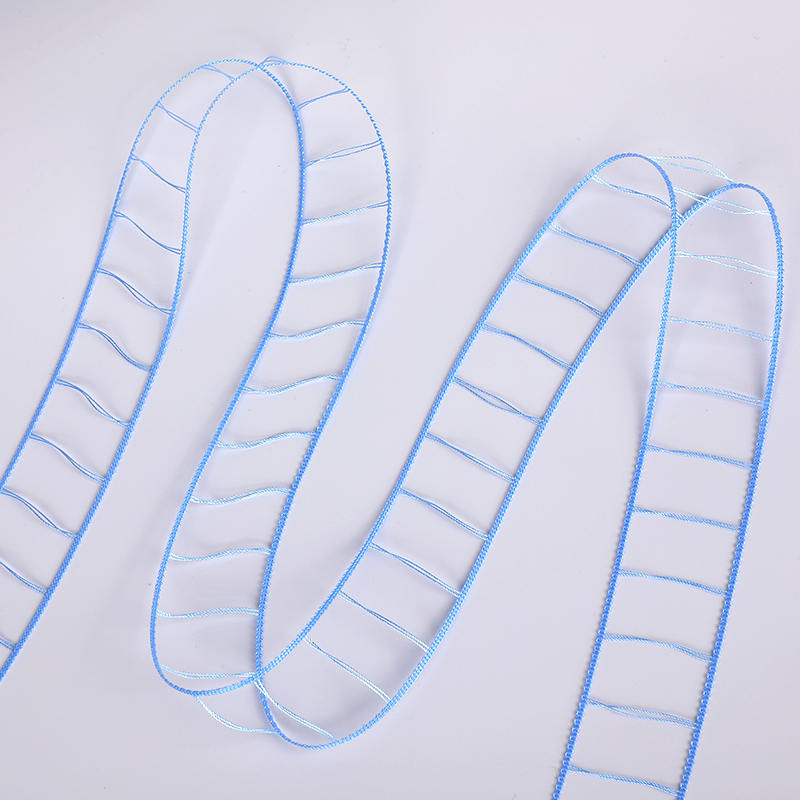 Replacement Ladder Cords for Regular BlindsDesigned for standard blinds, these ladder cords provide reliable support and smooth slat adjustment. Made from durable materials, they ensure stable operation and are compatible with various blind sizes, enhancing the lift system's performance during use.View Product →
The cords are easy to overlook during installation, but the lift system is what carries the slats. A cord that is frayed, too tight, or misrouted will make even a straightly mounted blind feel rough. If you maintain the headrail, you also maintain the travel speed and the life of the cord.
Take a step back and view the blind with the slats open. The top edge of the headrail should be level and the bottom rail should be parallel. Open and close the slats a few times to confirm the movement does not catch on the casing. If the headrail squeaks, a little dry lubricant on the cord and brackets can solve it.
Even a well installed blind needs care. Dust and finger oils can make lift cords sticky, which causes uneven travel. Follow the basic blinds maintenance rules at least once a month to keep the cords and ladder tape in good condition. If you need a custom width or a different slat material, contact us before ordering; the exact factory deduction depends on the product and bracket style, and it is easier to confirm with our team than to return a headrail after installation.