 "navigation"


02
Content
Installing blinds is a straightforward DIY project if you get two things right before picking up a drill: measuring accurately and choosing the correct mount type. This guide walks through each installation step in the order that produces the fewest mistakes, from the initial inside-versus-outside decision to the final cord and wand attachments. Whether you are fitting a single window or outfitting a whole room, the same sequence applies.
This decision determines how you measure, where you place brackets, and how the finished blind looks. Make it before ordering or cutting anything.
An inside mount means the blind sits inside the window frame, with the headrail recessed into the opening. This is the cleaner, more architectural look, and most homeowners prefer it when the frame depth allows. You need a minimum frame depth of about 3.8 to 5 cm, depending on the blind type. Measure the depth of your window recess before choosing this option.
An outside mount places the blind on the wall or ceiling above and around the window. Use this method when the window frame is too shallow, when you want to hide an unattractive frame, or when you need the blind to block light more completely. Outside mounts also make a small window appear larger because the blind extends beyond the frame. The trade-off is that the installation requires more precise leveling, since the headrail is fully visible against the wall.
Skipping accurate measurements is the most common cause of installation problems. A blind that is a few millimeters too wide will bind inside the frame; one that is too narrow will leave light gaps on the sides.
Measure the width at the top, middle, and bottom of the window opening, then record the narrowest measurement. For the height, measure the left, center, and right sides, and use the longest measurement. Do not assume the frame is perfectly square; old homes especially often have windows that are slightly out of true. Write down the narrowest width and the longest height, and subtract about 3 mm from the width to allow clearance for the blind mechanism.
For an outside mount, the width of the blind should overlap the opening by about 5 to 8 cm on each side. The height is the distance from the top of the mounting location down to where you want the bottom rail to fall. Decide before measuring whether the blind will hang above the sill or just graze it, then add about 5 to 7 cm above the opening for the headrail. More overlap means better light control and privacy, so err on the side of slightly larger if you are between two measurements.
Every installation goes faster when the correct tools are ready. You do not need a specialized toolkit; the basic items below cover nearly all window blind installations.
| Tool | Purpose |
|---|---|
| Electric drill with 3 mm and 6 mm bits | Drilling pilot holes and driving screws into the frame or wall |
| Spirit level | Ensuring the headrail and brackets are perfectly horizontal |
| Pencil | Marking bracket positions before drilling |
| Tape measure | Confirming measurements on site |
| Flat-head screwdriver | Adjusting screws and opening bracket clips |
| Stud finder (optional) | Locating wall studs for outside mounts holding heavy blinds |
For masonry, concrete, or tile surfaces, you will need masonry drill bits and wall plugs. Wooden window frames generally take screws directly without plugs. A stud finder is recommended for heavy exterior blinds or large vertical blinds, where the weight can pull a drywall anchor out of the wall over time.
Brackets are the foundation of the entire installation. If they are uneven or loosely fixed, the blind will hang crooked, bind when raising and lowering, or pull free from the frame. Take the extra few minutes to get them exactly right.
Hold the headrail up against the mounting surface and mark where the brackets will go. For an inside mount, the brackets sit just inside the frame, one on each side. For wider windows, add an auxiliary bracket in the center to prevent the headrail from sagging under the weight of the blind. Place auxiliary brackets at equal intervals; a 180 cm blind needs three brackets, one at each end and one centered.
For an outside mount, position the first bracket about 5 to 8 cm from each end of the headrail, then space the others evenly across the width. If you are mounting above the window, keep the headrail at least 2 cm above the opening so the valance does not rest against the frame.
Place a spirit level across the two end brackets before marking the screw holes. A difference of even 3 mm across a 120 cm width will be visible once the blind is installed, and it will cause the bottom rail to tilt. Mark the screw holes with a pencil, then remove the brackets and drill pilot holes.
Drill pilot holes with a bit slightly smaller than the screw diameter. This prevents the wood from splitting and makes the screw easier to drive straight. If you hit a stud, drive the screw directly. Otherwise, insert a wall plug rated for at least 10 kg per bracket. Screw the bracket in place but do not over-tighten; strip the screw head and you will have to re-drill at a new position.
Ceiling mounting is a valid variation of an outside mount, used when there is insufficient wall space above the window or when you want the blind to hang just in front of the glass. The process is identical, except the brackets screw into ceiling joists or ceiling anchors. Always check that the blind clears the window hardware when raised all the way up.
The headrail is the structural top section of the blind that holds the tilt mechanism and, in the case of corded blinds, the aluminum blinds cord that raises and lowers the slats. To attach it, hook the front edge of the headrail into the front lip of the brackets, then rotate the back upward until it clicks into place. You should hear the locking tab engage.
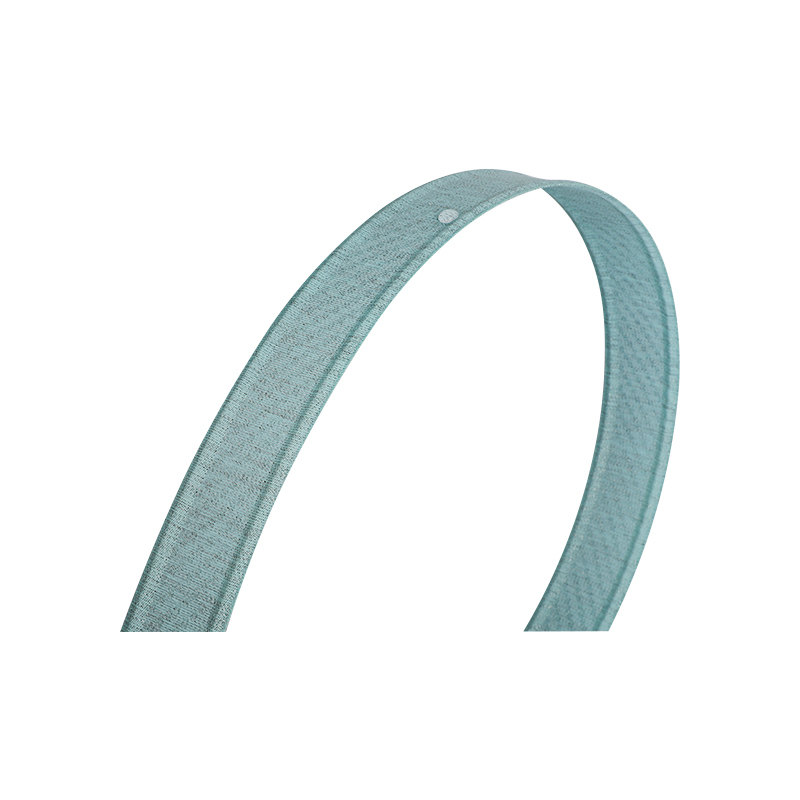
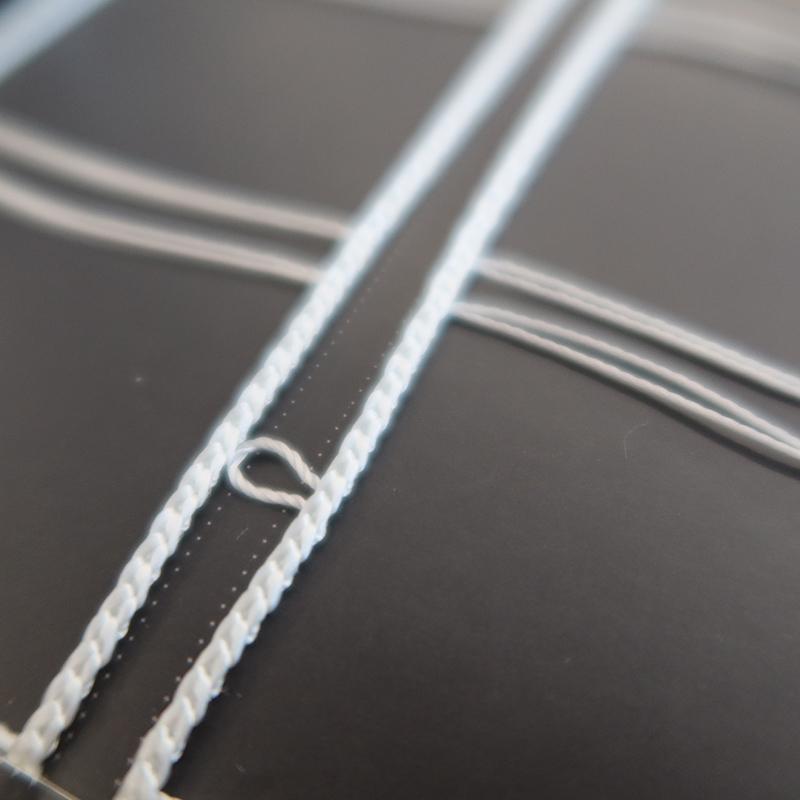
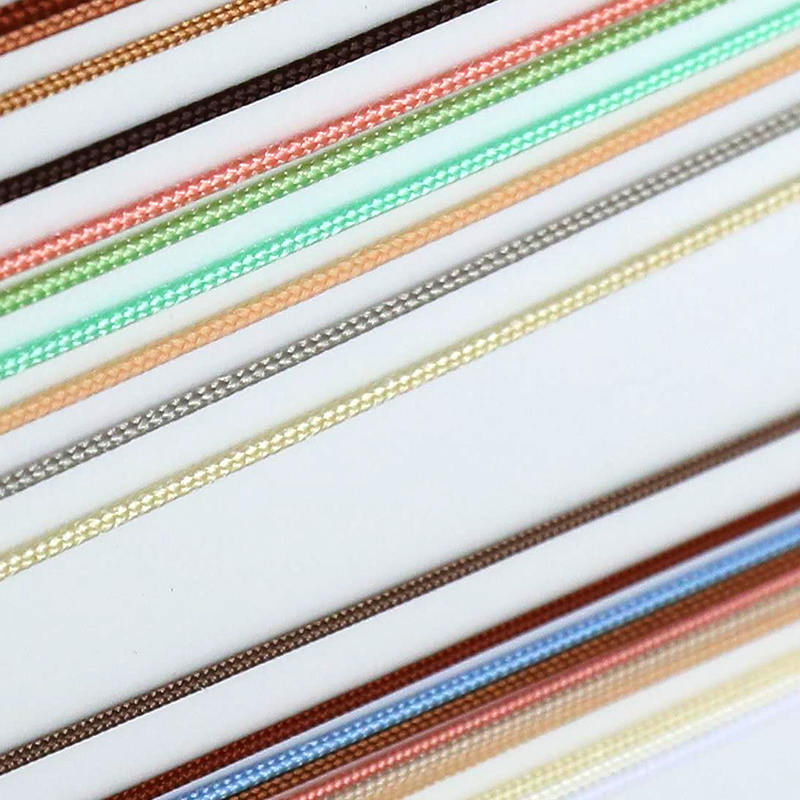 Aluminum Blinds Cord Manufacturers, Wholesale FactoryHangzhou Youpu Decoration Materials Co., Ltd is China Wholesale Aluminum Blinds Cord Manufacturers and Aluminum Blinds Cord Factory, offe...View Product →
After clicking in, give the headrail a gentle tug upward. If it lifts out of a bracket, the locking tab has not engaged correctly. On a valance-style bracket, adjust the tab with a flat-head screwdriver. The headrail must sit firmly in every bracket; a loose fit on one side will cause the blind to drop slightly at one end and put uneven stress on the tilt mechanism.
For inside mounts, the headrail should sit flush against the top of the window frame. If it does not fit into the opening, the obstruction is usually a bracket positioned too close to the top. Loosen the screws and slide the bracket slightly lower, or check that the headrail has not been assembled incorrectly.
The valance is the decorative cloth or metal panel that covers the headrail mechanism. The sequence for attaching it depends on the material and the mounting style of the product.
Wood and faux wood blinds usually have a valance that clips into brackets on top of the headrail. Slide the valance clips along the rail until they are evenly spaced, then press the valance down until it snaps into place. The valance should cover the front face of the headrail completely and sit level with the headrail at both ends.
Aluminum mini blinds use a slightly different system. First attach the valance clips to the top of the headrail, then insert the metal valance slat into the clips from the side or front, depending on the clip design. Some clips hold the valance by spring tension; press the valance in until you feel it seat against the stop. When you are done, look at the blind from eye level to confirm the valance is not bowed in the center.
The tilt wand and the cord loop are the control points for adjusting blade angle and raising the blind. If your blind uses a wand, position it so that it hangs at a comfortable height. The standard installation connects the wand into the tilt mechanism and locks it with a small clip or screw, depending on the model.
On corded blinds, prior to installation check the condition of the wooden and faux wood blinds cord and loop cords. A damaged or abraded cord should be replaced before fitting to avoid a failure later. Run the cord through the pulleys and check that the bottom rail rises evenly when you pull the cord. If one side rises faster than the other, the cord is mis-threaded in the ladder string or the bottom rail is not level.
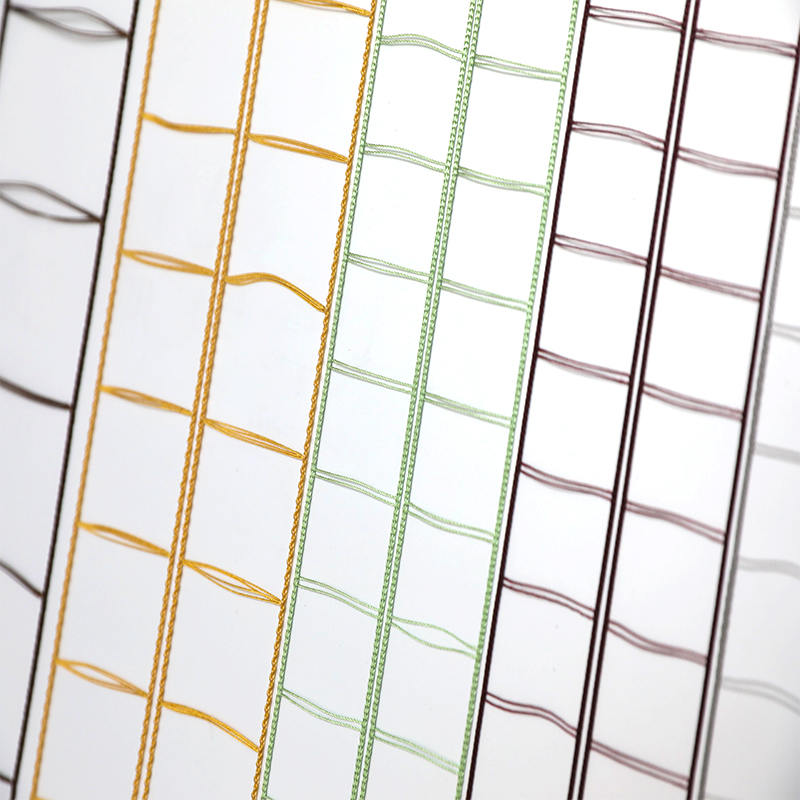
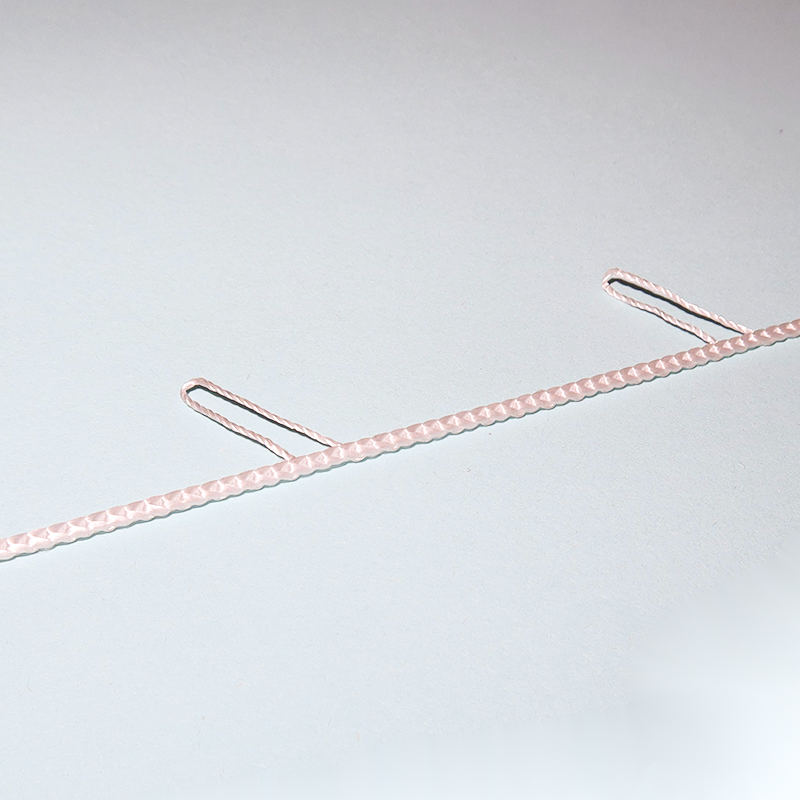
 Wooden/Faux Wood/Roman/Bamboo Roller Blinds Cord Manufacturers, Wholesale FactorHangzhou Youpu Decoration Materials Co., Ltd is China Wholesale Wooden/Faux Wood/Roman/Bamboo Roller Blinds Cord Manufacturers and Wooden...View Product →
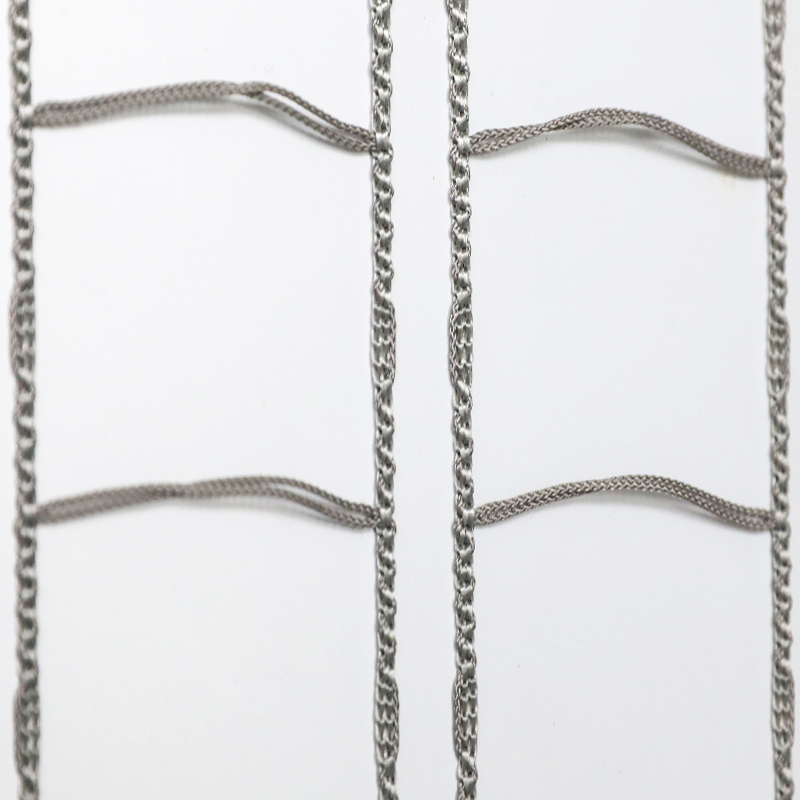
Testing is not an afterthought; it is how you catch problems that will otherwise annoy you every time you use the blind. Lower the blind completely, then raise it halfway. The bottom rail should stay level, and the slats should lift simultaneously on both ends. If the blind tilts, the cord tension is uneven or a regular blinds ladder cord is twisted. Lift the blind again and run your fingers along the ladder cord to untwist it.
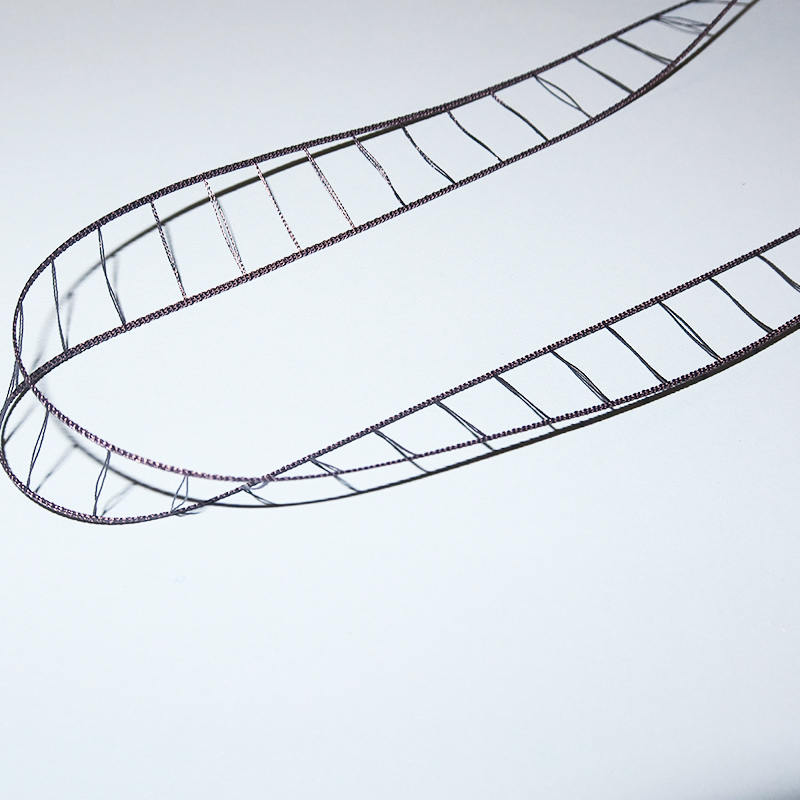
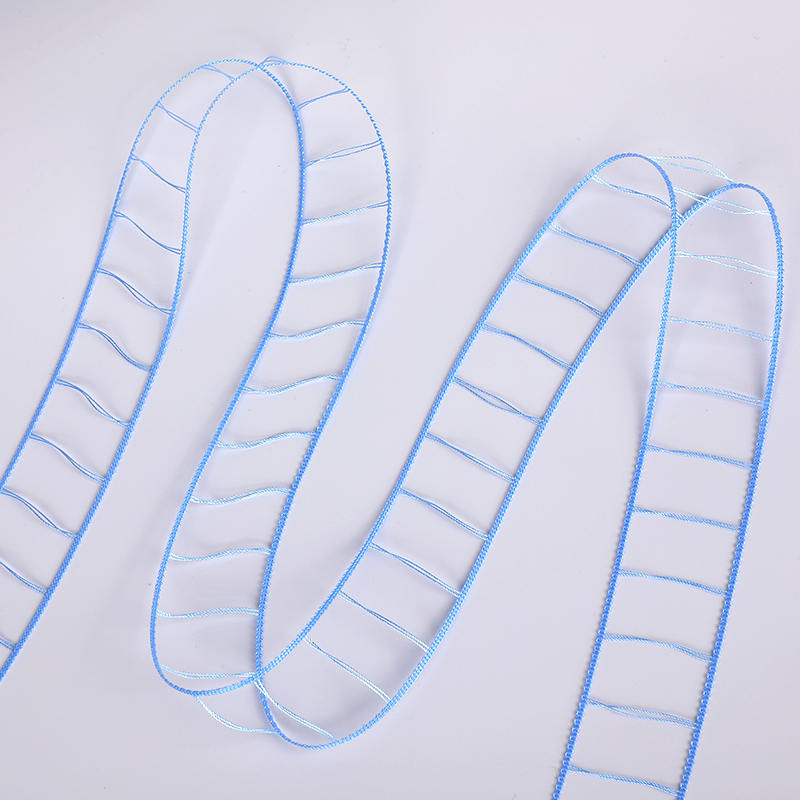 Regular Blinds Ladder Cord Manufacturers, Wholesale FactoryHangzhou Youpu Decoration Materials Co., Ltd is China Wholesale Regular Blinds Ladder Cord Manufacturers and Regular Blinds Ladder Cord F...View Product →
Rotate the wand or tilt cord from side to side. The slats should open and close smoothly. If the tilt mechanism is stiff, do not force it. The ladder cords may be wrapped around each other or caught in the headrail. Open the headrail cover and check that all cords and ladder strings sit in their correct channels.
Close the blind and check the edges. For inside mounts, light gaps on the sides usually mean the blind is too narrow — a measurement issue that cannot be fixed during installation. For outside mounts, gaps mean the overlap is insufficient. If you are fitting a blind over an irregular opening, adjusting the bracket depth can improve the seal slightly, but donut-shaped shims can also fill small gaps between the bracket and the wall without moving the screw holes.
Most installation failures trace to a small number of causes. Understanding them beforehand saves time and avoids hidden costs.
Screws that are too short will not bite into the frame securely, and the bracket will pull loose after a few weeks of use. Screws that are too long can poke through the back of a window frame or damage internal components. Use the screws that come with the blind kit when possible. If you need longer screws because you are mounting into a thick wall surface, choose a length that penetrates the solid material by at least 20 mm but does not protrude on the other side.
A pilot hole that is wider than the screw shank will not grip. When the screw is driven in, it will turn freely and the bracket will be loose. As a basic rule, the pilot hole should match the diameter of the screw shank, not the threads, in softwood. In hardwood, it should be slightly larger than the shank to avoid splitting.
Drywall alone cannot hold the weight of a blind bracket, especially when the blind is 120 cm or wider. Use drywall anchors or find the stud with a stud finder and drive the screw into the stud. For blinds heavier than about 3 kg, avoid drywall anchors entirely for the end brackets; a center bracket on an anchor is acceptable only for lightweight mini blinds.
Once the blind is installed, small preventive measures keep it working smoothly for years. The operating cords on a blind see hundreds of cycles over their lifespan. On corded blinds, check the cord loop for fraying every few months, and confirm that the cord tensioner is correctly installed if the blind uses a looped design. Tangled cords are not solely a cosmetic issue; friction between twisted strands accelerates wear and can cause the cord to jam inside the headrail. If you notice uneven lifting, see what causes aluminum blinds cord tangling before the condition worsens.
If children are present in the home, install cord cleats or a cord tension device to keep pull cords and loop cords out of reach. The safety of aluminum blinds cord around children is a factor to consider before relying solely on the factory-installed cord stop, which can fail if the cord is pulled forcefully. Wherever possible, set up blinds to avoid dangling loop cords altogether or anchor them securely following the manufacturer's instructions.
Routine care also extends the life of a new installation. Dust the headrail and slats regularly so grit does not work its way into the tilt mechanism, and wipe down the ladder cords with a dry cloth. Follow these blinds maintenance rules and a quality product will operate smoothly for a decade or more. For additional tips on fabric slat care and general upkeep, our company news section covers common window treatment questions in more depth.