 "navigation"


02
Content
Installing venetian blinds is a one-hour job for most windows, provided you follow one consistent order: measure, mark, mount the brackets, then fit the headrail. Nearly every installation error we see comes from two decisions made before anything is drilled: uneven bracket placement and the wrong mount type. Get those right and the rest is mechanical work you can finish with a handful of common tools.
A venetian blind is not one fixed piece. It arrives as a headrail that houses the tilt and lift mechanisms, a set of slats supported by ladder cords or ladder tape, a bottom rail, and usually a valance that hides the working parts. Knowing what each component does makes installation easier and makes it possible to diagnose a sticking cord or a tilted slat later.
Lay everything out before you drill. Most venetian blinds include mounting brackets, screws, and a cord cleat in the box. The tools you need depend on the wall construction: masonry calls for a masonry bit and wall plugs, while a timber frame only needs a pilot hole.
| Tool | Why it matters |
|---|---|
| Steel tape measure | For checking the window opening and confirming the blind width before drilling. |
| Pencil | For transferring bracket positions to the wall or ceiling. |
| Spirit level, 60 cm or longer | A short level can be misleading over a wide window; a longer level catches the slope that causes slats to sit off-square. |
| Drill with the right bits | A masonry bit with hammer action for brick or concrete; a standard bit for timber and drywall. |
| Wall plugs or anchors | Required for any fixing into hollow drywall or masonry; never skip them on a headrail that carries weight. |
| Screwdriver or driver bit | Phillips-head driver set to a moderate torque so bracket screws are not stripped. |
| Step ladder | So you can mark and drill at a consistent height without guessing. |
Also inspect the hardware in the box. Count the brackets, confirm the screws are long enough for the fixing point, and check that the valance clips are present and undamaged. If you are re-fitting an existing blind in a new location, look closely at the ladder cords and the lift cord before choosing a spot; worn components are far easier to replace while the blind is flat on a table.
Decide between an inside mount and an outside mount before you measure, because the two methods use different dimensions. The mount type determines where the brackets sit and how much of the window the blind actually covers.
An inside mount nests the blind inside the window recess. Measure the width at the top, middle, and bottom of the recess; the narrowest reading is the reference point. Deduct 3 to 5 mm per side so the headrail slides in without binding. Also measure the recess depth: most venetian headrails need at least 50 mm, and a shallow reveal forces the headrail to protrude past the frame.
An outside mount fixes the brackets to the face of the frame or above the opening, so the blind covers the recess rather than sitting inside it. Choose this when the recess is too shallow, the window is out of square, or you want maximum light blocking. Add roughly 50 mm of overlap on each side and make sure the raised blind clears the sill. The mounting surface, not the window, determines the level, so measure bracket height at both ends even if the frame is not level.
One rule applies to both methods: the brackets must sit level with each other and the mounting surface must hold them firmly. A 3 mm height difference between brackets shows up as a visibly slanted blind, so it is worth re-checking with a level before the screws go in.
Most manufacturers specify brackets 100 to 150 mm from each end of the headrail, with additional brackets every 600 to 900 mm across wider spans. A 1.5 m blind typically takes three brackets; anything over about 2 m takes four or more. Mark the positions with a pencil, then draw a horizontal line through them using a spirit level. If the headrail has end caps, measure from the caps rather than from the first slat.
Hold each bracket in place and mark the screw holes. Pre-drill a pilot hole for each screw. For masonry, use a masonry bit and push nylon wall plugs into the holes. For timber, use a pilot bit slightly smaller than the screw so the thread bites without splitting the frame. Drive the screws firmly but avoid overtightening; plastic brackets can distort and pinch the headrail. Once all brackets are up, confirm the alignment with the level again.
Most venetian brackets have a front lip that receives the headrail first. Hook the front edge into the lip, then lift the back edge until the rear catch or latch snaps over the rail. If the bracket has a locking screw underneath, tighten it lightly. The headrail should sit straight across its full width with no bow in the middle.
Slide the valance clips onto the top edge of the headrail and space them evenly. Press the valance onto the clips until it clicks. If the blind includes valance returns for the sides, fix them with the small screws or connectors supplied and match the angle of the return to the valance profile.
Wrap the pull cords around a cord cleat mounted high on the wall, or fit a tensioner if the blind uses a continuous loop. Position the cleat at least 1.6 m above the floor so cords are out of a child's reach. Long, accessible pull cords and continuous loops are the main safety risk on corded blinds, so this step is not optional. The same logic applies when you retrofit an older blind; the practices covered in making aluminum blinds cords safer for children are worth applying to every corded window covering in the house.
Raise and lower the blind by pulling both cords evenly and watch the bottom rail. It should stay level during travel. Tilt the slats fully open and fully closed to confirm the ladder cords run freely. If one side rises ahead of the other, the lift cord lengths differ; re-level the bottom rail rather than adjusting the headrail.
Some problems appear only after the blind has been used a few times. The frequent ones are predictable:
Not every operating problem needs the blind taken down. Most failures happen in one of a few components: the lift cord frays where it flexes near the top slat, the ladder cord stretches so slats sit unevenly, or the ladder tape loses tension. If the headrail and brackets are sound, replacing the component is usually faster and cheaper than reinstalling a complete blind.
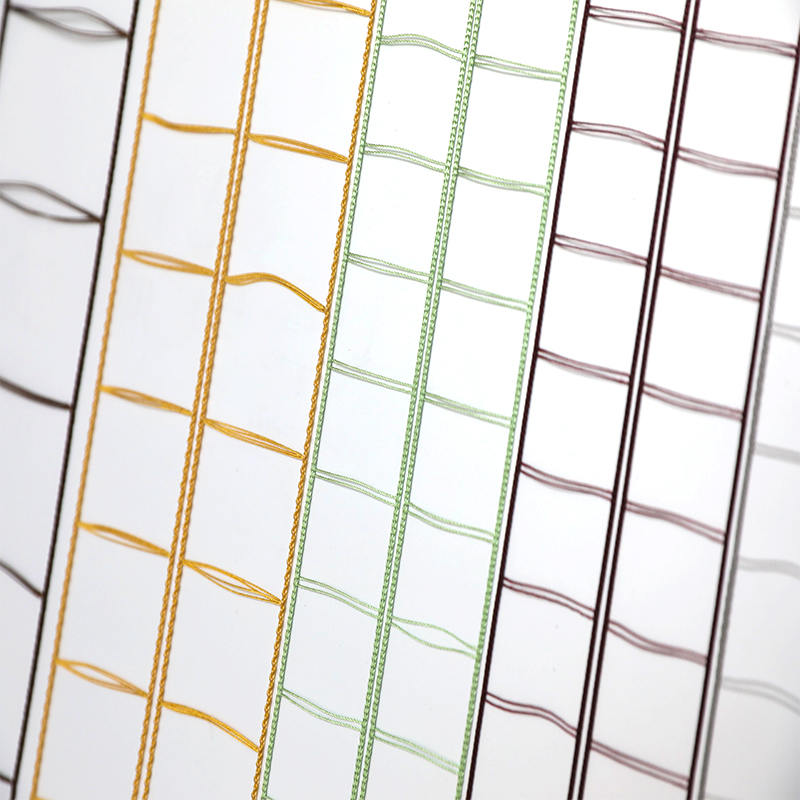
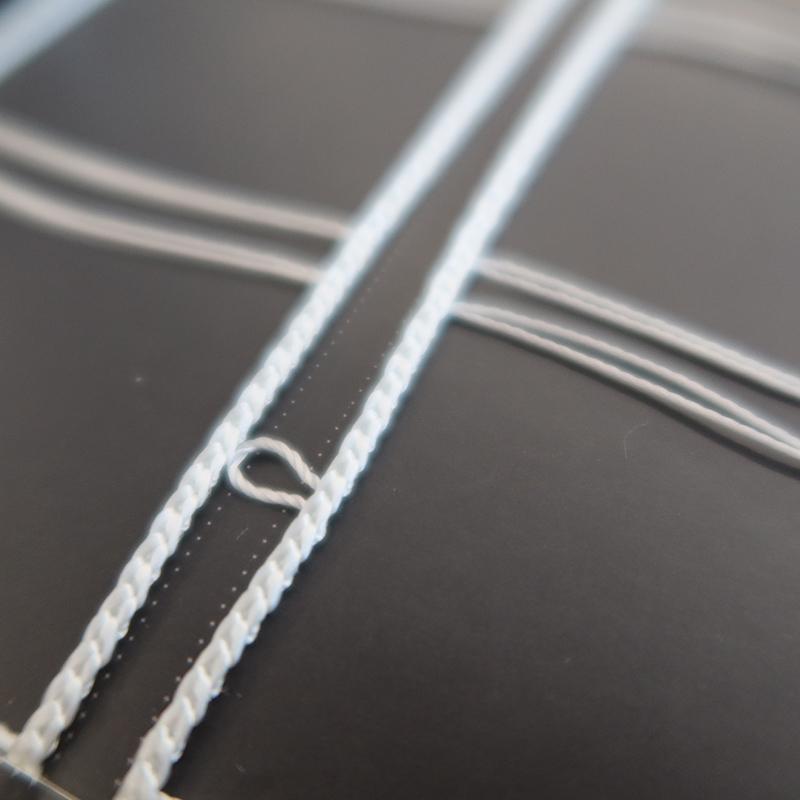
On aluminum venetian blinds, the lift cord is the first component to wear because it bends at the same point every time you raise the blind. A replacement aluminum blinds cord with a consistent diameter and reliable knot strength keeps the bottom rail level and avoids the cord pulling through the slat holes.
 Aluminum Blinds Cord Manufacturers, Wholesale FactoryHangzhou Youpu Decoration Materials Co., Ltd is China Wholesale Aluminum Blinds Cord Manufacturers and Aluminum Blinds Cord Factory, offe...View Product →
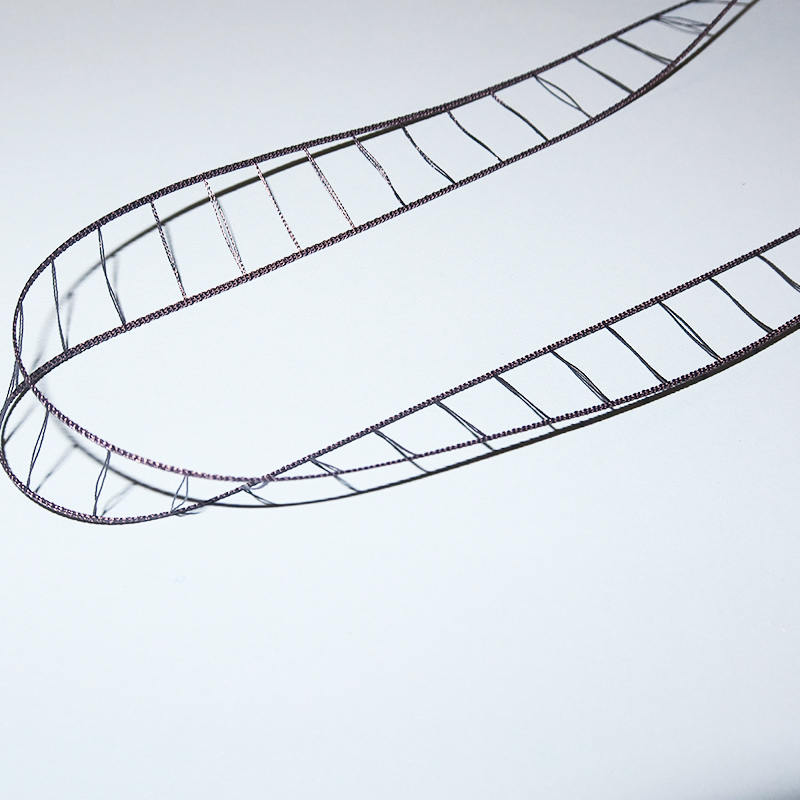
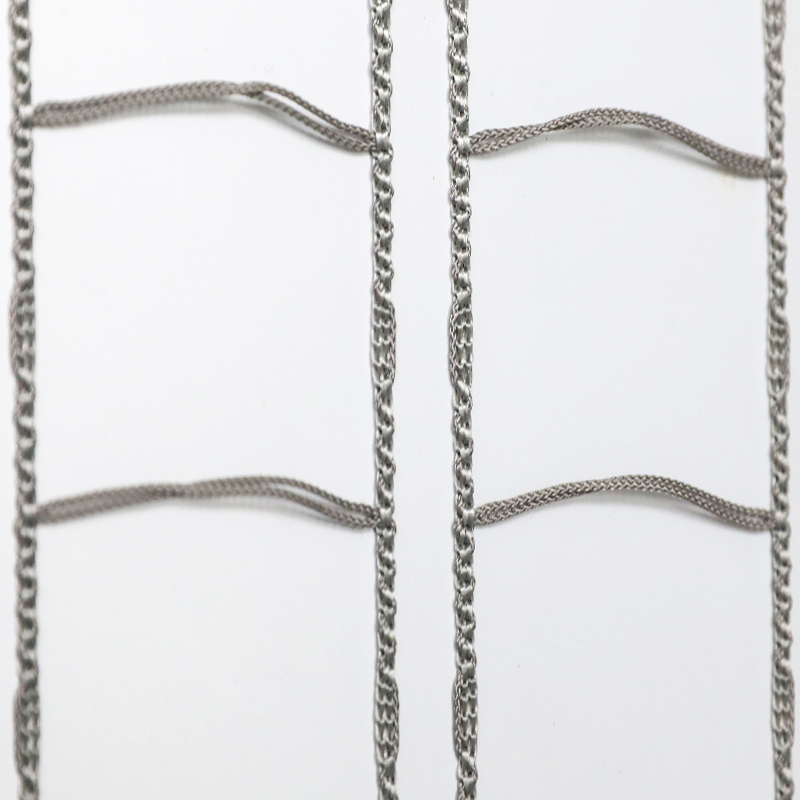
When the ladder system loses its even spacing, a replacement blinds ladder cord restores the gaps between slats without touching the headrail mechanism. Before ordering, measure the slat width, the distance between slats, and the required cord length; these dimensions decide which component actually fits. Tape and cord are not freely interchangeable, so match the replacement to the original style unless you are changing the whole ladder system.
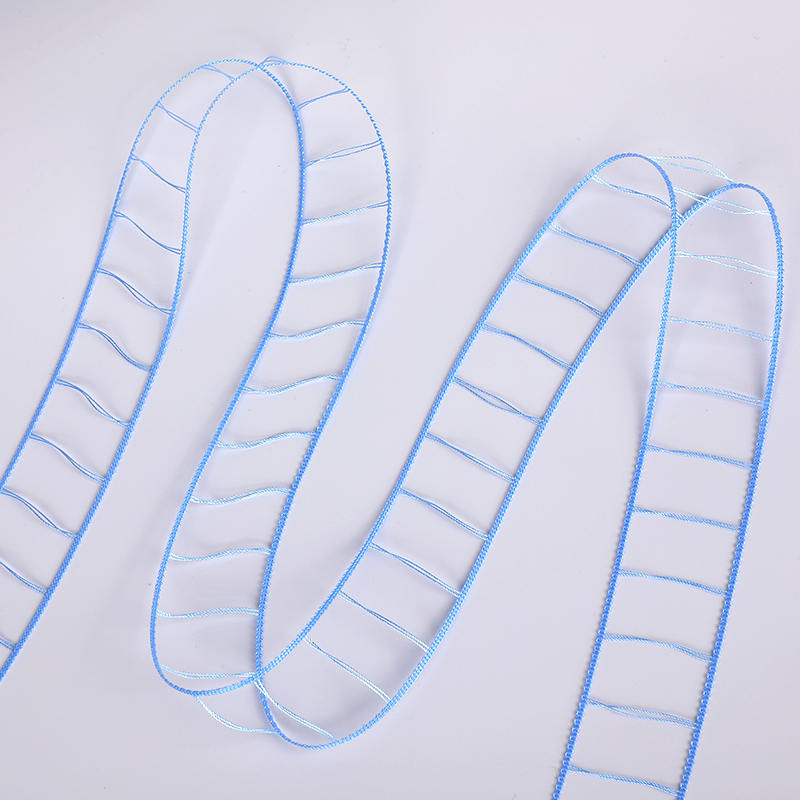 Regular Blinds Ladder Cord Manufacturers, Wholesale FactoryHangzhou Youpu Decoration Materials Co., Ltd is China Wholesale Regular Blinds Ladder Cord Manufacturers and Regular Blinds Ladder Cord F...View Product →
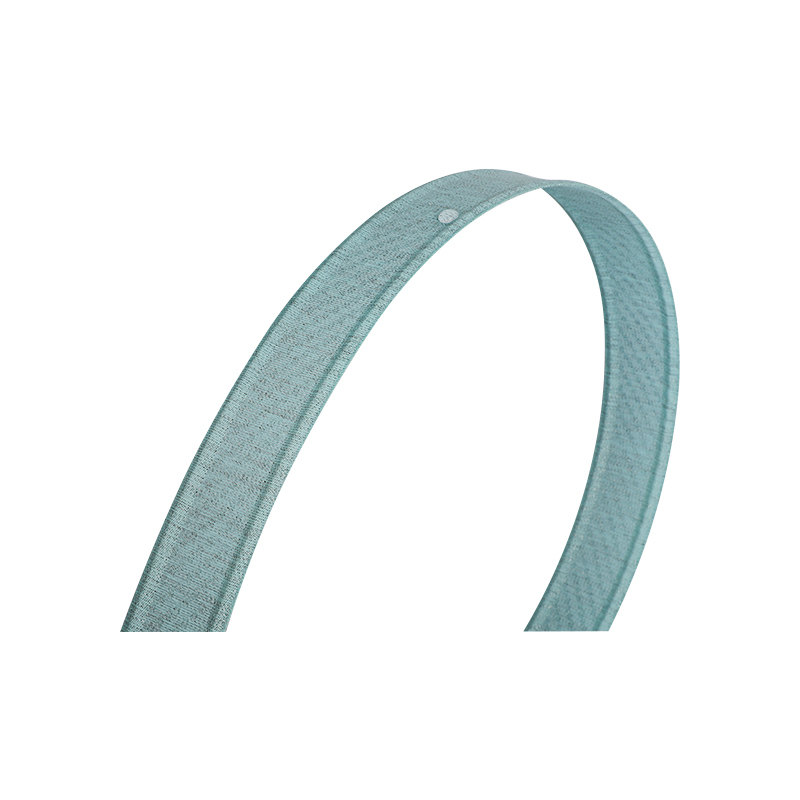
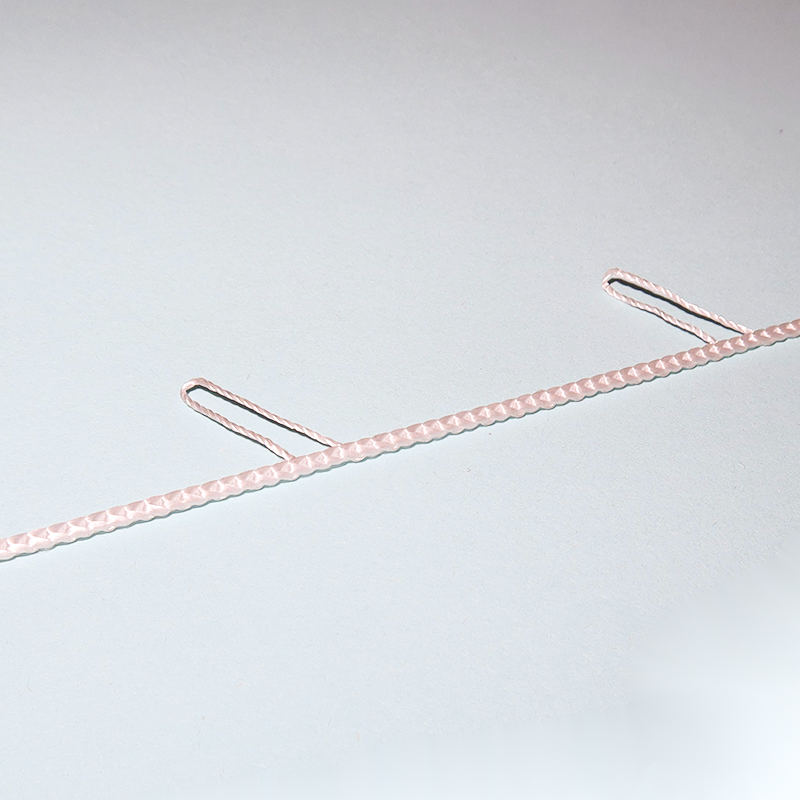
For blinds with wide slats, or installations that see heavy daily use such as offices, flat ladder tape supports each slat more steadily than round cord because it spreads the load along the full slat edge. The practical trade-offs between ladder tape versus ladder string come down to appearance, smoothness of tilt, and how much the blind is used. If the blind already runs on tape, matching the original width and construction is the safest option; regular ladder tape suits most standard slat widths and keeps the slats evenly spaced over years of operation.
 Regular Ladder Tape Manufacturers, Wholesale FactoryHangzhou Youpu Decoration Materials Co., Ltd is China Wholesale Regular Ladder Tape Manufacturers and Regular Ladder Tape Factory, offer ...View Product →
A correctly installed venetian blind needs very little care, but the moving parts deserve attention. Dust the slats with a soft brush or cloth and avoid solvents that can attack the finish. Check bracket screws every few months, especially on blinds that are cycled several times daily; normal operation can work screws loose in soft timber. Replace cords and tapes at the first sign of fraying instead of waiting for a failure at full raise. The basic blinds maintenance rules used by professional installers apply to venetian blinds just as they do to any other window covering.
When you install blinds in commercial or rental properties, the same principles scale up: standardise bracket spacing, measure with a template, and keep a small stock of ladder cords, lift cords, and tapes so a repair does not require a full re-installation.